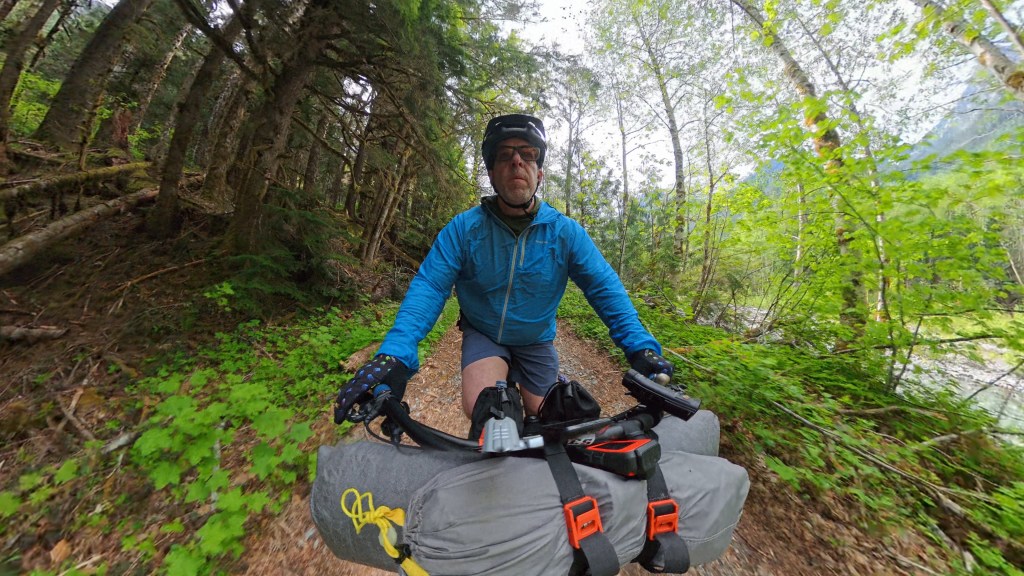
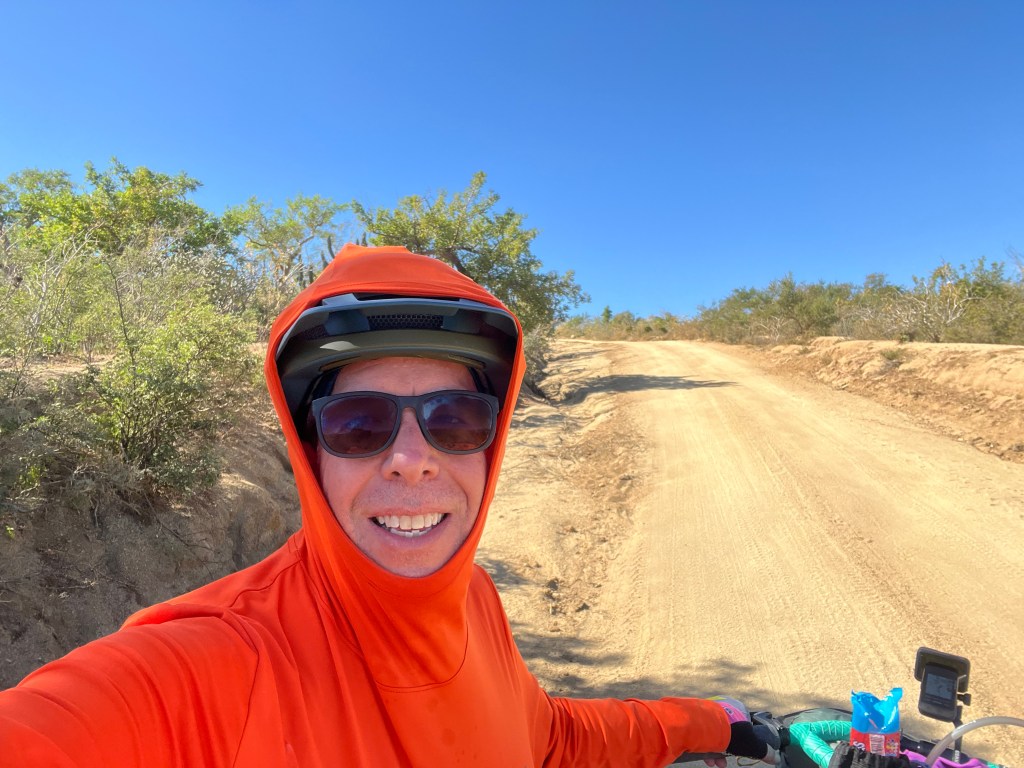
Sub-24 Hour Overnight First Ride of the Season
After a winter of too much travel, not enough exercise, and too many unhealthy food choices, I finally got a chance to escape into the woods and remember what it feels like to move under my own power. No difficult routes or grand adventures, just a chance to get outside, ride for a few hours, camp overnight, ride back, and return home. All in less than 24 hours, aka a Sub-24 Hour Overnight (S24O) (what’s an S24O?). Just me, Hobbes, a trimmed-down kit, and a route up the Middle Fork Snoqualmie River to shake off the rust.
The Plan: Low Expectations, High Payoff?
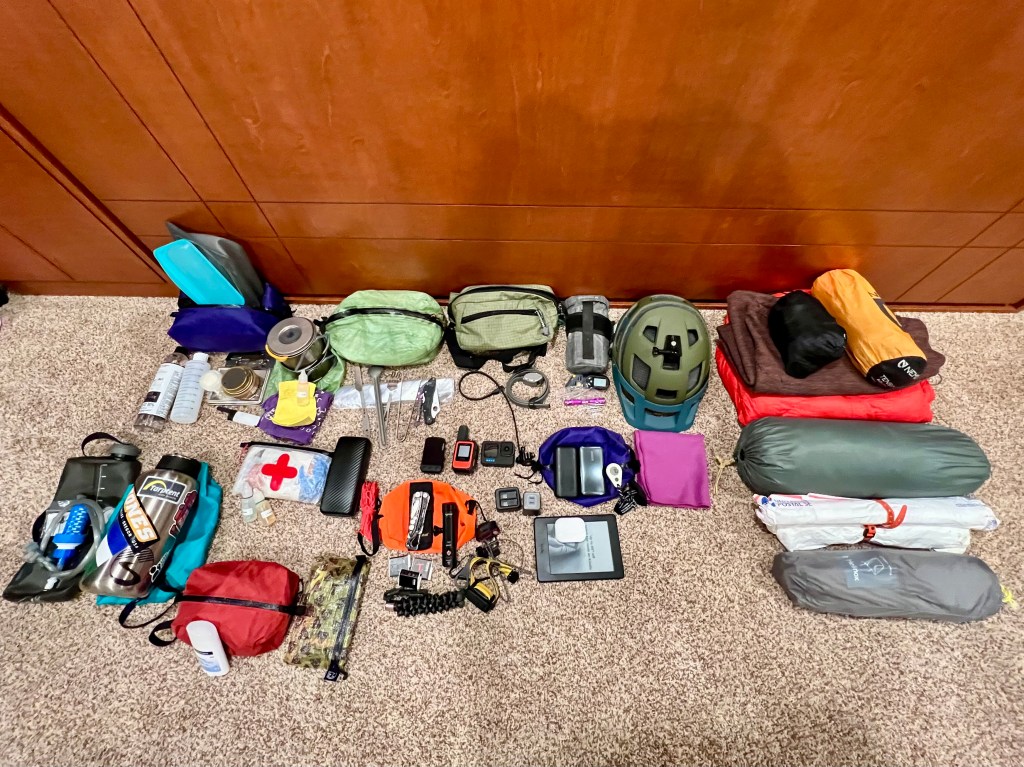
I hadn’t been on an overnight trip since last summer. I’ve spent more time looking at my gear and my pack list than actually using it.
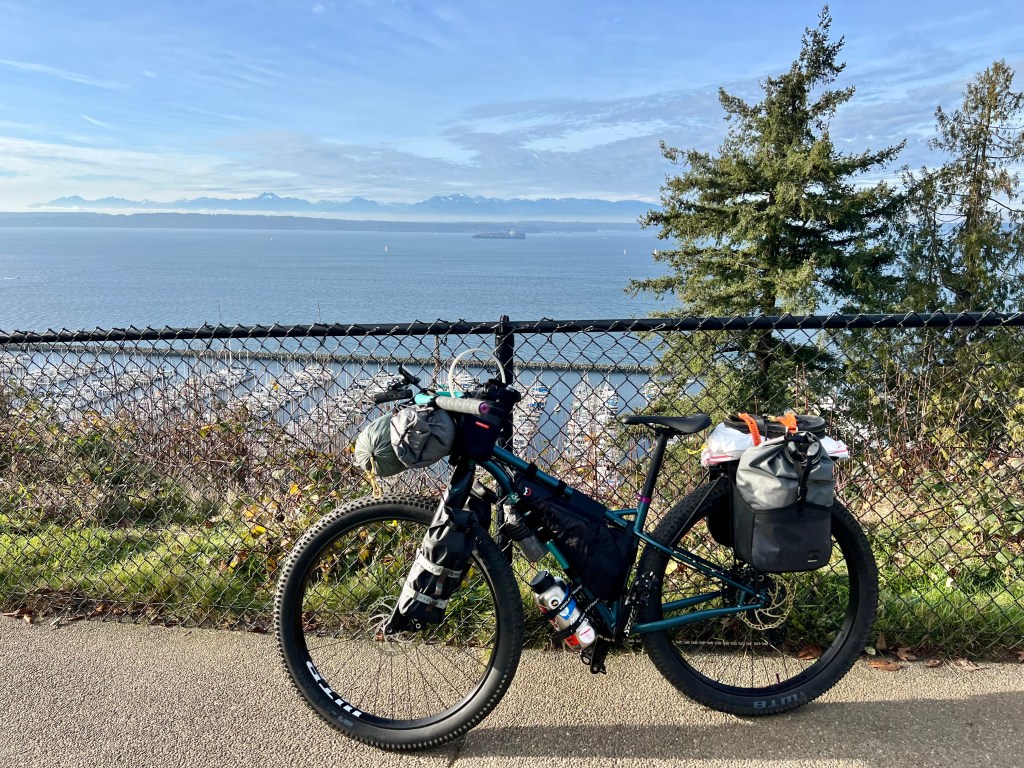
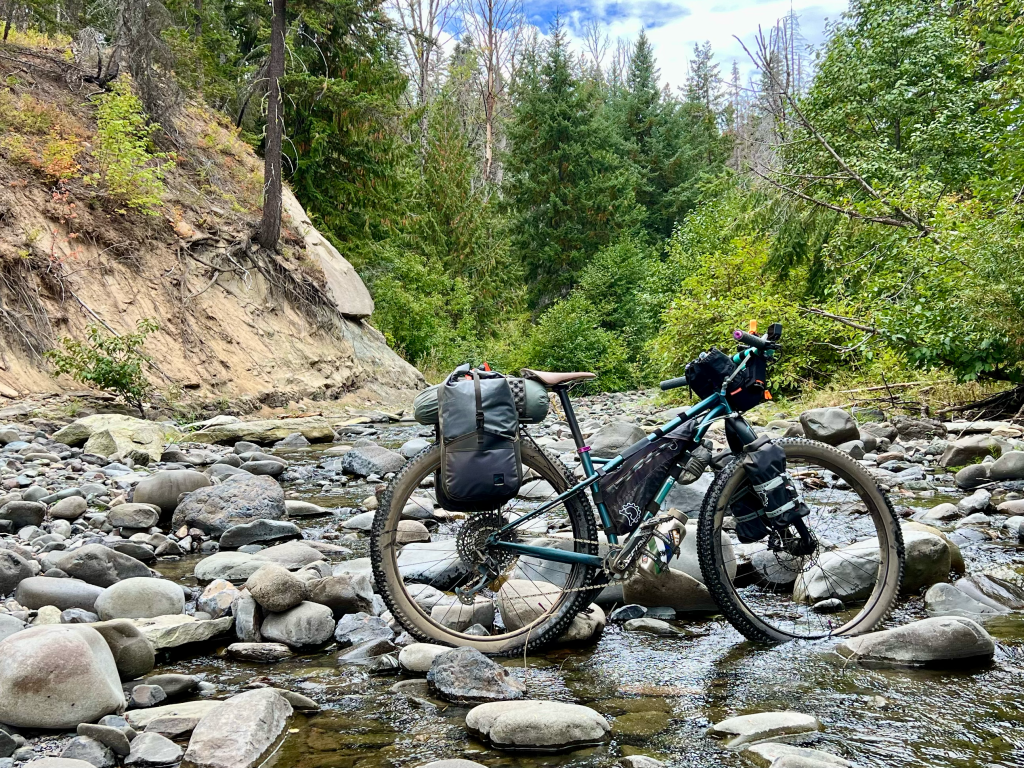
Over the winter and early spring, I made a few creature-comfort improvements to my bike. I swapped out the 170mm cranks with 155mm cranks. At 5’7″, the 170mm cranks always felt long, so I took a shot on the shorter ones and I’m glad I did. I can spin nice, tight circles without feeling like I have too much knee bend at the top of the stroke. A shorter lever arm means that I need to put out more power to make the cranks spin, which means I’m working a little bit harder, but it feels like more of the pedal stroke is within the range of movement where I can make sufficient power.
With shorter cranks I need a slightly higher and more setback saddle. I traded the aluminum seat post for a Salsa Guide carbon 18mm setback seat post. I’ve moved my seat back by about 10mm, which was a significant improvement. My body feels like it is sitting more naturally aligned with the saddle now.
Last, I changed out the Jones Bars and stem, choosing the Jones Double Butted Riser bar and a Whisky No 7 Mountain Stem (50mm, 0-degree). Using these tools I was able to visualize how to bring my bars up about 30mm and back by 20mm. This puts me more upright in the saddle, taking pressure off my wrists and reducing the pain I was experiencing. I also added a set of Ergon GS1 Evo grips and moved the brakes and shifting further outboard on the bars toward the grips. I don’t move my hands as much in this configuration as I did with round grips and the controls closer to the loop of the bar. However, I am very comfortable and in control.
Earlier in the year I marked off a few days between work obligations for a possible quick trip… Finally, the schedule and the weather both cooperated.
Middle Fork was an easy choice since it’s only 75 minutes from home. About seven miles into the route, cars are no longer allowed, making it low-traffic and remote enough to feel like I’d actually gone somewhere.
The Setup: Lighter, Tighter, Slightly Dumber?
I over-plan. And I over-pack. Every. Single. Time.
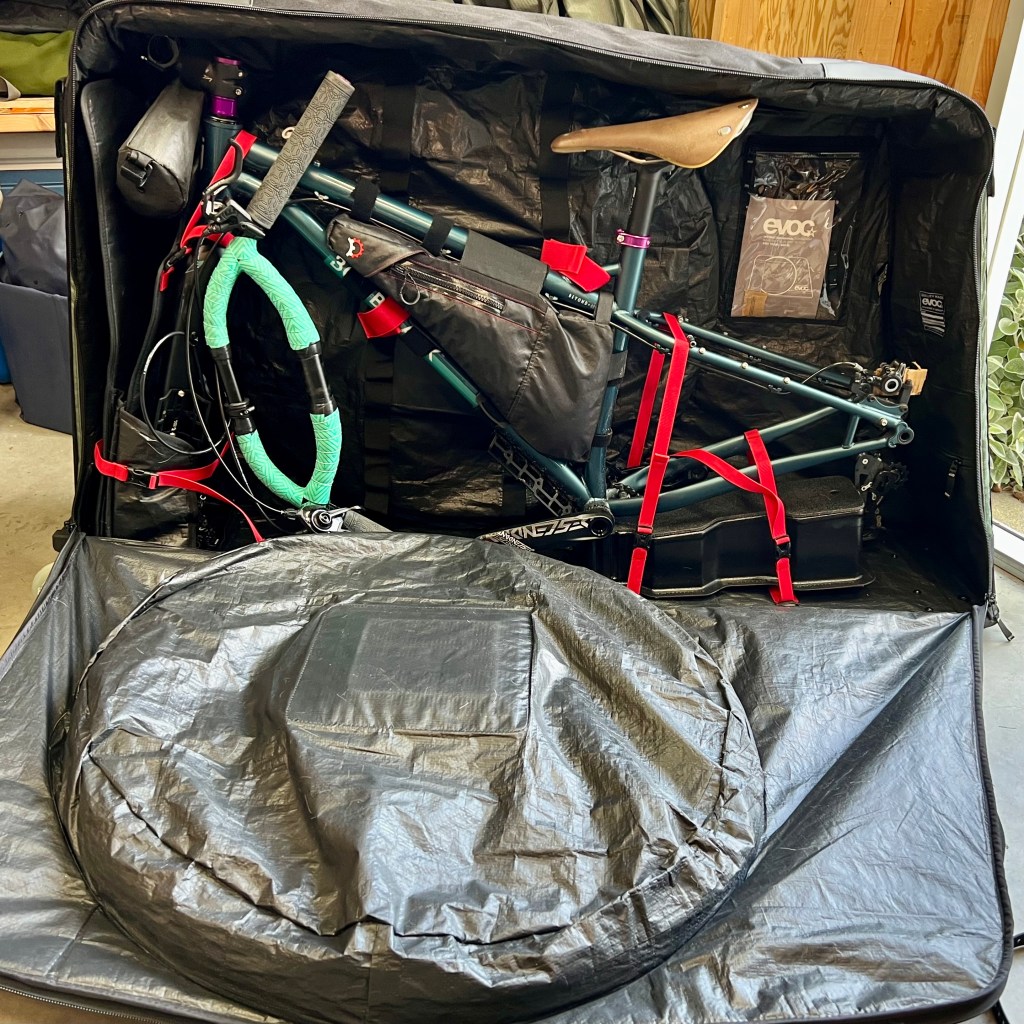
I have packing lists galore, but they never really worked well for me. Over the winter I imported all my gear into PackWizard to help me plan future trips. Designed for hiking, it’s not a perfect tool for bikepacking, but it gets the job done. (Seriously, I’d love to organize gear by type and by where it lives on the bike or body via different views into the data.)
You can poke through the full gear list for the trip here: PackWizard Setup. I brought as few clothes as necessary—they’re both heavy and bulky and a common place for me to say, “well, let me add that JUST IN CASE.”
Highlights:
- Patagonia Thermal Hoodie: My favorite lightweight hoodie. When combined with a windbreaker like the Patagonia Houdini and a merino baselayer, it kept me warm into the night before bed. Swap the merino for a lightweight T-shirt and I was warm on the descent to the car.
- Firemaple Petrel heat exchanger pot and Hornet II stove. Sorry, Snow Peak, but this is so much more efficient than the stove and pot I was using last year.
- Insta360 X5 camera to capture all my questionable decisions in detail. I’m still learning how best to use it and edit the video output.
- I really, really want to love the Firebox Nano in the field. But I was too wrecked at the end of the night to bother setting it up for a tiny campfire.
The Ride: Straight Up. Straight Down.
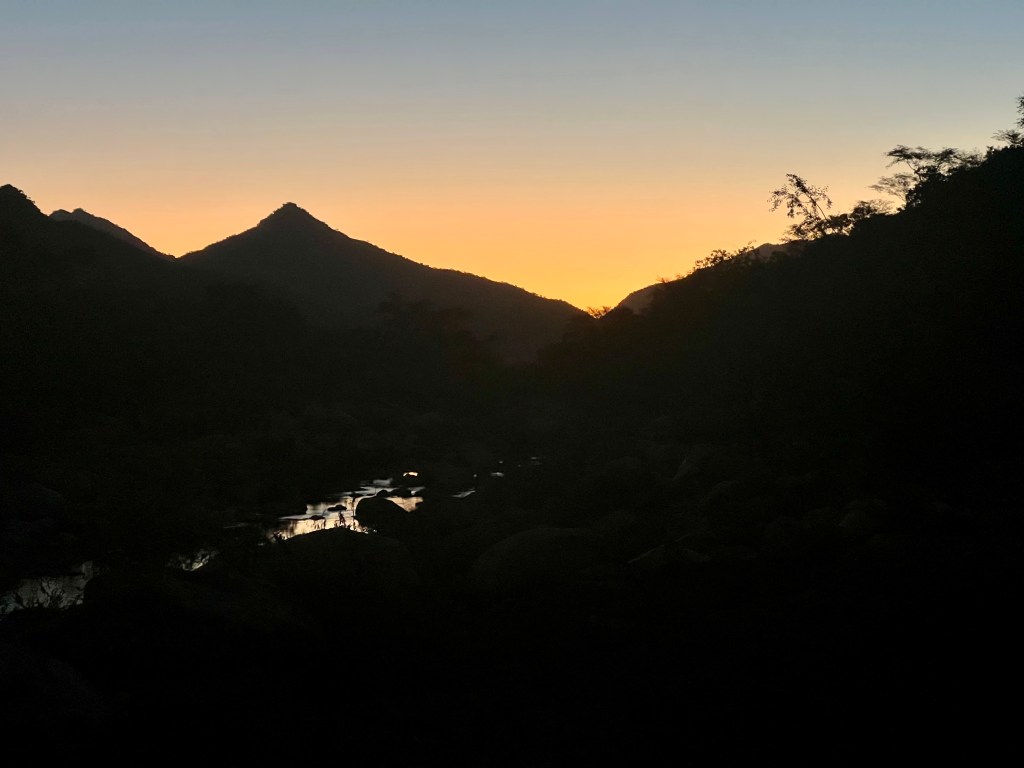
At 3:10 PM on a Friday afternoon, I started spinning up the trail. The first 7 or so miles were on a somewhat rough forest road. “High clearance vehicles” apparently includes the occasional Honda Fit.
The weather was warmer than expected, about 70F. A mile in came the first short, steep climb. I was already gassed. Not great!
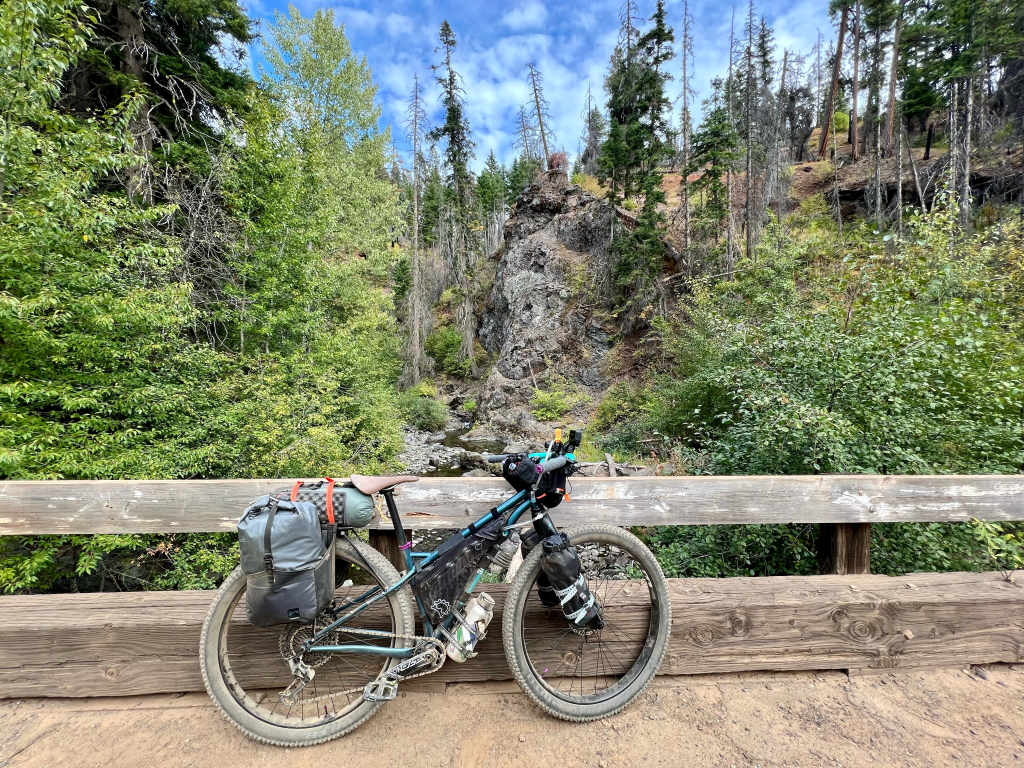
After that, the forest thickened and the temps cooled off. The first six miles passed quickly with the occasional car or camper along the way. (Note to self: There are some nice dispersed options here if you’re car camping.)
After that, no cars. From here on out it’s hikers, bikers, and horses only. Thankfully I saw no horses, nor did I have any horse apples to dodge.
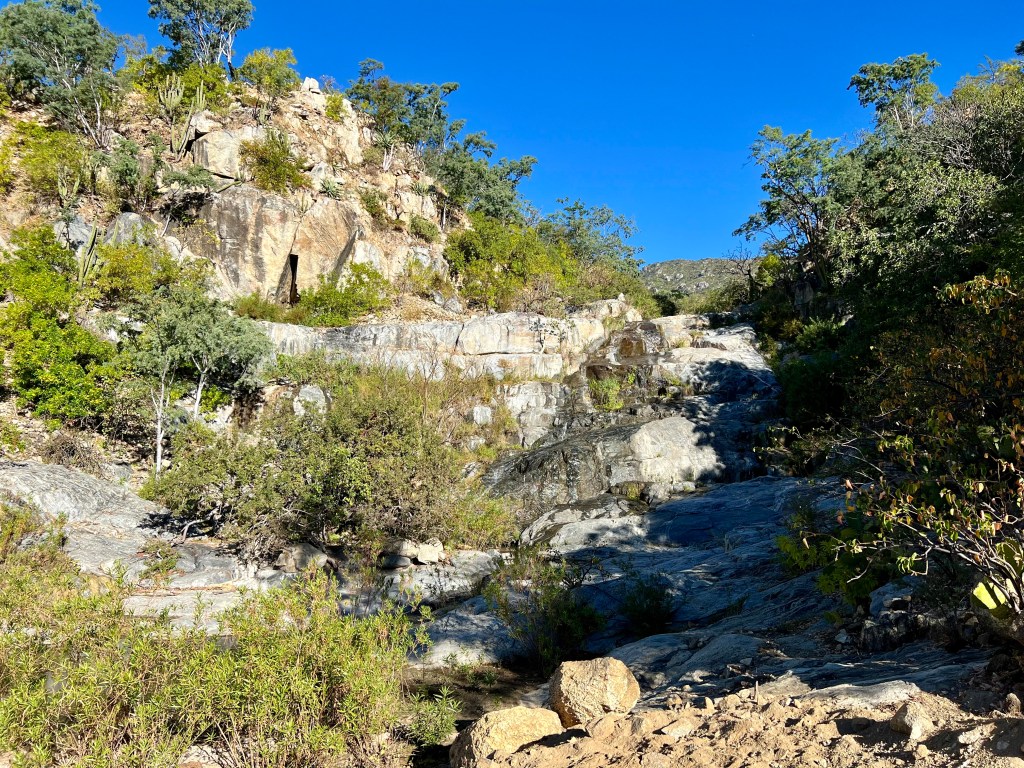
Just past the road closure, I reached Dingford Creek Falls. I stopped for a bit to admire the falls before knocking out another ~5 miles. The first 11 miles and 1,152′ of climbing took me 2 hours 20 minutes. The next 2.5 miles to camp took another 1 hour 10 minutes and 850 more feet of climbing. There was a lot of hike-a-bike and muttering “WTF am I even doing?”
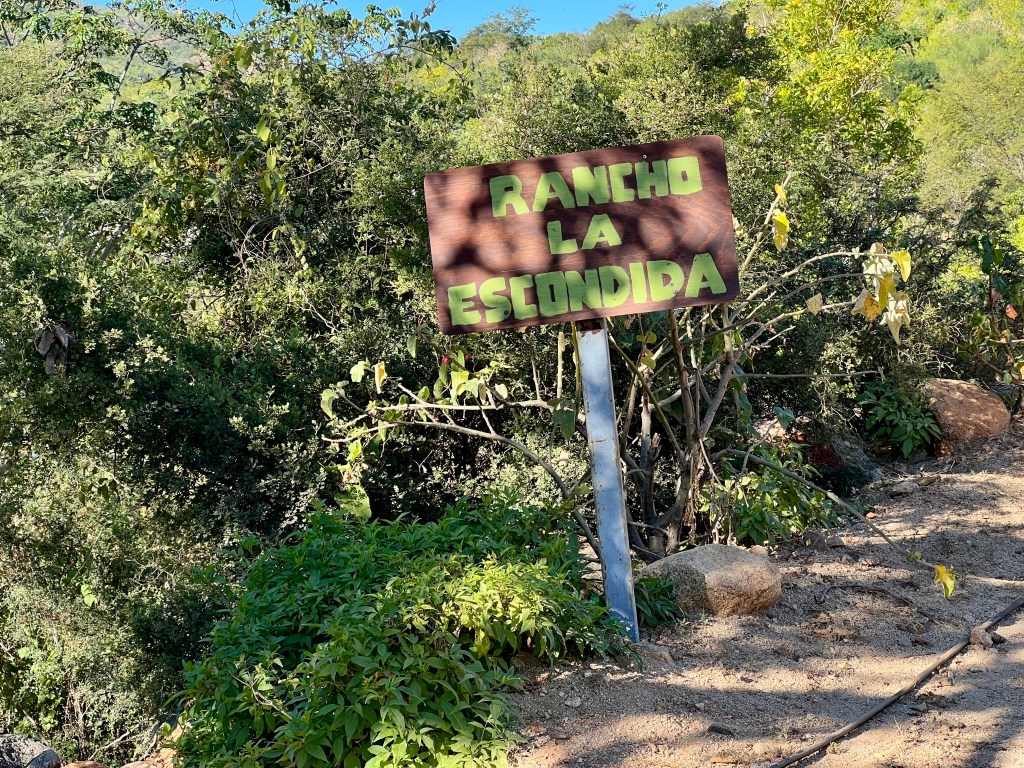
But the payoff was worth it. I arrived at the Hardscrabble Horse Camp around 6:45 PM to find a pair of bikepackers lounging in their hammocks. They pointed out where to access water—not easy despite being right by the river. They also casually mentioned spotting a bear earlier that afternoon. Cool… I think?
After filtering water (nothing better than cold river water after a hot climb), I set up camp and made dinner. The celebratory beer I brought—Wiley Roots Brewing Company, “Briny Bois: License to Dill” Sour Ale with Pickled Cucumber, Pickle Brine, Dill, and Sea Salt—wasn’t as cold as I hoped, but it hit the spot.
After sundown, I crawled into my tent, fiddled with editing Insta360 clips on my phone, and passed out to the sound of the river.
Sleep was cool but not cold. My pared-down kit did the job, though I’m still not in love with the Nemo Tensor sleeping pad. I may have to admit a thicker pad is worth the trade-off of both volume and weight.
I also need to figure out better ventilation for the TarpTent Double Rainbow DW. My riding clothes didn’t dry overnight and the rainfly was soaked with condensation.
The Descent: Gravity Is Your Friend
I skipped the hot breakfast I’d packed and went with a protein bar, Coba chocolate, and a camp mochaccino (freeze-dried coffee + cocoa packet).
Changed into cold, damp riding clothes. Yuck.
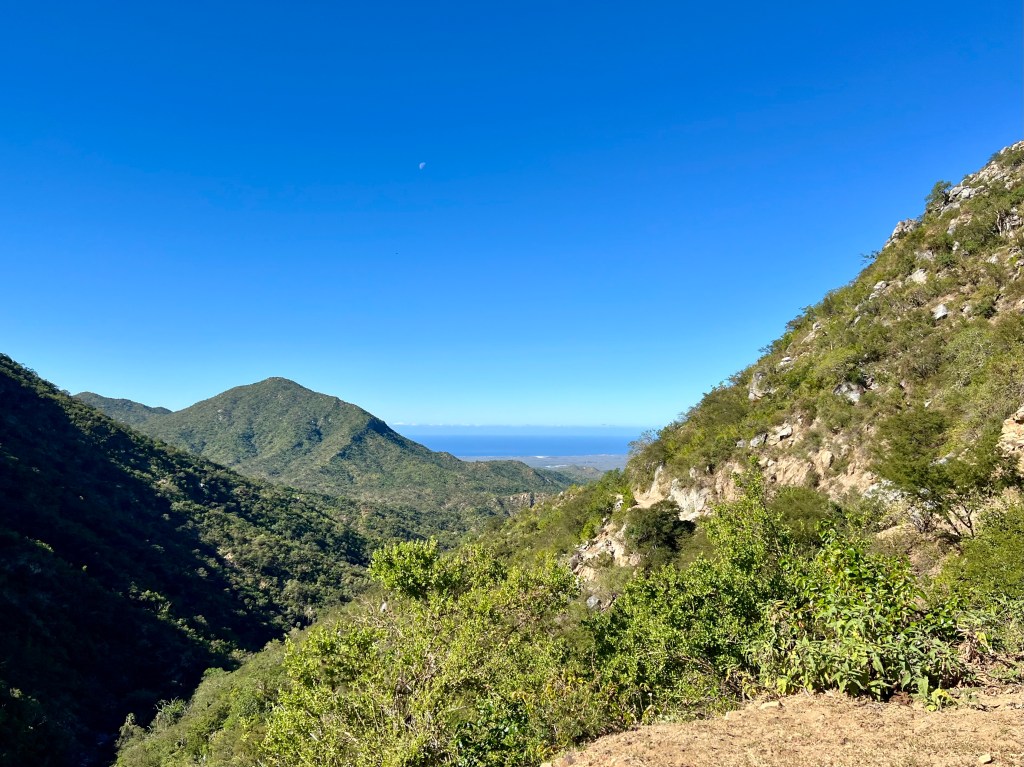
Packed up and rolled downhill. The return trip was so much easier. Downhill for about 12 quick miles, then a short climb, and then back down to the car. It reminded me of BMX rides as a kid—but I don’t bounce back like I used to, so I kept it controlled rather than take unnecessary risks and hurt myself.
No heroics, no mechanicals, no major faux pas. Just a solid overnight to get back into the PNW bikepacking season..
TL;DR
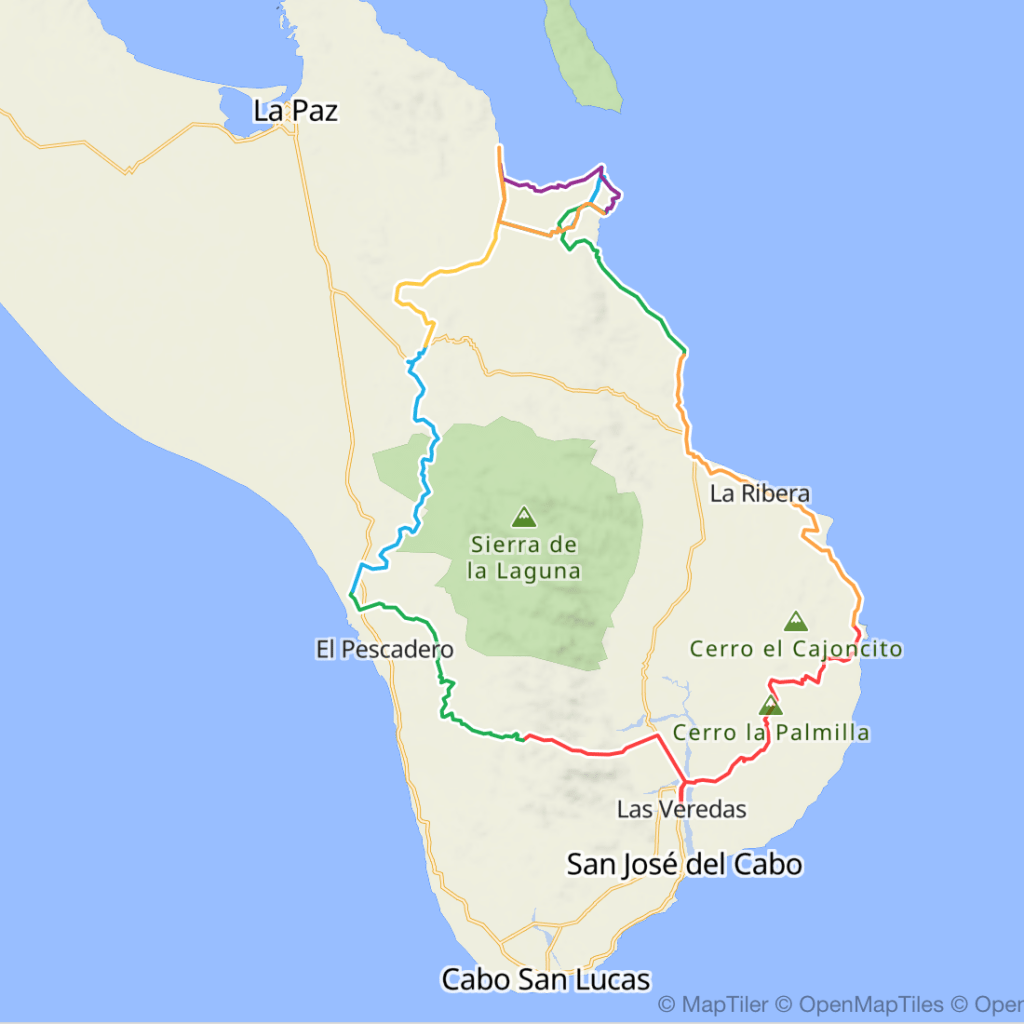
- Route:
- Original: Middle Fork Snoqualmie River
- As Ridden
- Gear List via PackWizard
- The Middle Fork Snoqualmie River route is a solid early-season ride if the weather cooperates. The final few miles to camp are tough, but the sites near the river are worth it. Bear poles, tent pads, and the sounds of the rushing river.
- Mosquitos? Absolutely, but they didn’t bother me much because it was cold enough to require long sleeves and pants in camp.
- My trimmed-down pack list worked. Still room to trim: If I’m not riding at night, the headlight can stay home in favor of a headlamp.
- I still pack too much food that I don’t eat.
- Hobbes is dialed. The upgrades made a noticeable difference in my overall comfort.
- I need more time in the saddle to gear up for bigger adventures this summer. Sustained steep climbs are my enemy.
- Solo time in the woods is the best way to recharge after a long, busy beginning of the year.
More video once I’ve had more time to practice editing.
Want a deeper dive on the camera or gear list? Let me know in the comments or find me on BlueSky.

You must be logged in to post a comment.