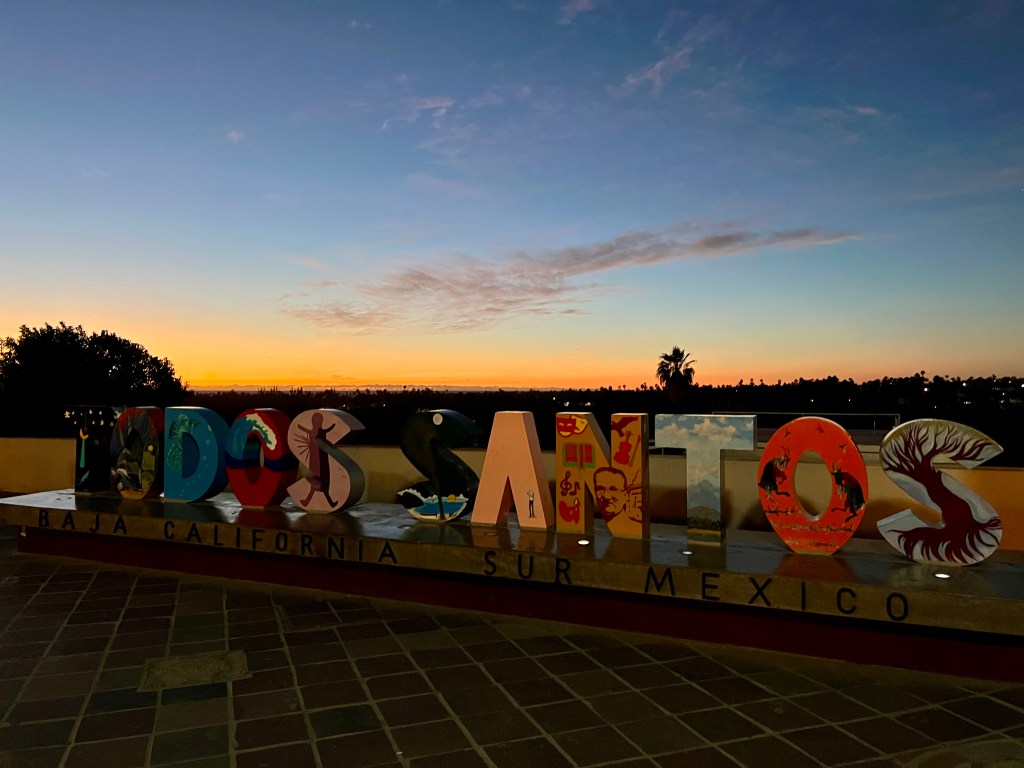
After a fitful night’s sleep, I decided to stay in Todos Santos for a rest day. I ate a lazy breakfast and then dropped by the bike shop in town. One of the guys at the shop gave me good information on the next section of the route. I extended my AirBNB stay for another night, which gave me the opportunity to nap, lay in bed, read, and stay out of the sun. Which I did for about six hours – three before lunch, three after.
Tomorrow I plan to ride to El Rosario and Santuario de los Cactus. Taking the advice of a previous rider, I decided to take the highway (ugh) out of town to make the day easier. I’m still feeling tired from yesterday’s effort. The new route follows the highway for about 20 miles, before turning on to a local ranch road and meeting up with the official route in Valle Perdido. I restocked my food, repacked the bike, and went to bed early to be prepared for tomorrow’s ride.
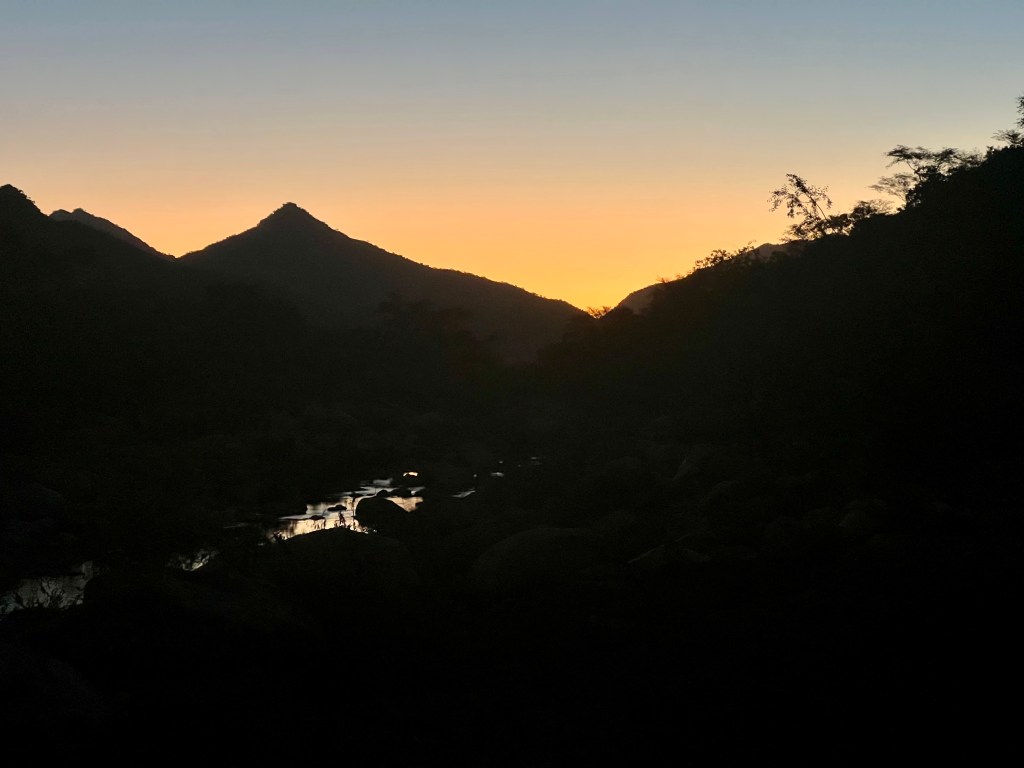
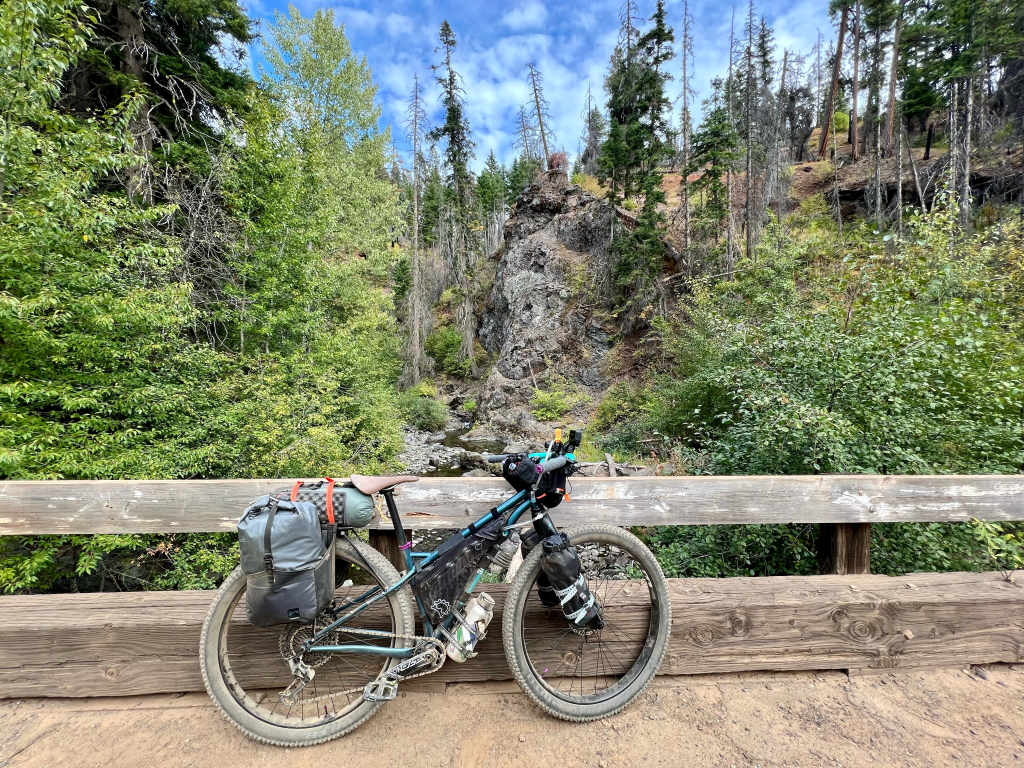
I woke up early this morning to a beautiful sunrise over the mountains. After a quick breakfast, I loaded up Hobbes and we headed off for the day’s first challenge – a 4 mile/6.4 km climb up 1100’/335 m before dropping back down toward the Pacific Ocean on the other side. The climb took about an hour of riding, with a few delays along the way.
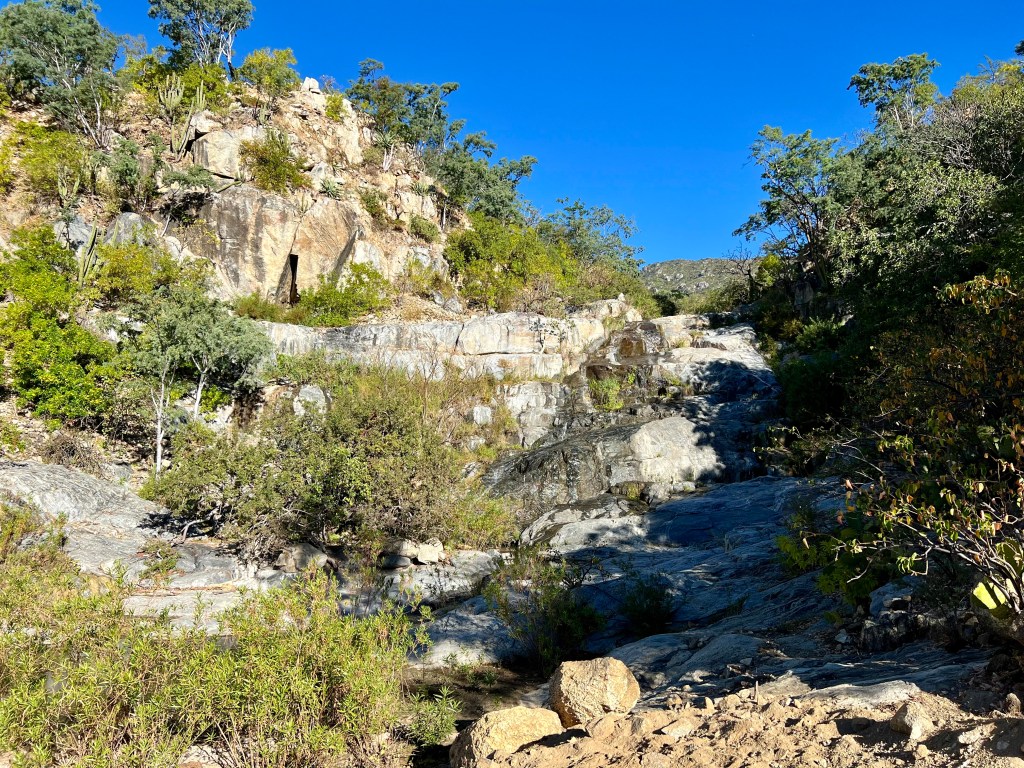
Waterfall next to the roadside.
The first thing I noticed was a noise coming from the rear end. I forgot to tighten down a strap, it was hitting the rear wheel which caused the noise. As I corrected the loose strap, I noticed one of the bolts holding the rear rack to the seat stay was also loose. Unfortunately, these bolts are on the inside of the seat stay. To tighten it properly means removing the rear wheel. I must not have tightened them completely when I put Hobbes together in the hotel room two days ago. Using the pliers on the Leatherman, I was able to tighten them sufficiently for the day.
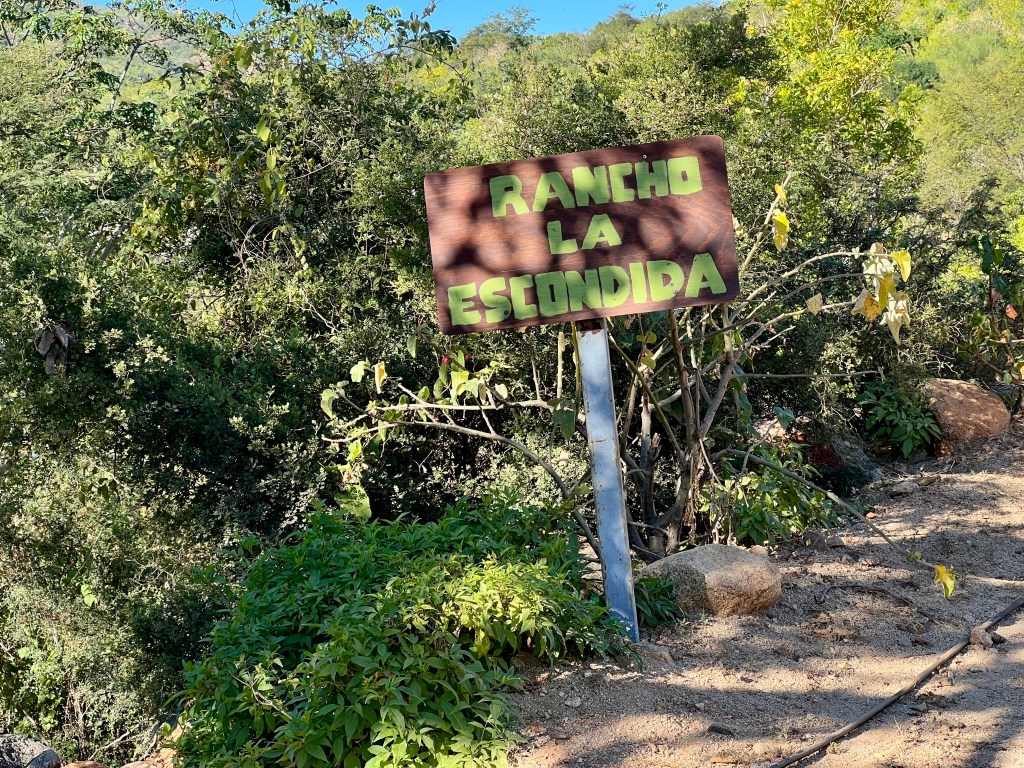
One of many ranches found in the mountains.
Within another half mile, I was experiencing noise when in the granny gear. Thankfully, I had seen (heard?) this behavior before on Hobbes. For some reason, the B-screw on the rear derailleur seems to loosen on rougher terrain, causing the chattering and, eventually, poor shifting. I was able to improve the shifting with an adjustment to the B-screw, but I didn’t recall how to measure the adjustment properly, so I couldn’t dial it in 100%. This would continue to give me a bit of grief, and something to worry about, for the remainder of the day.
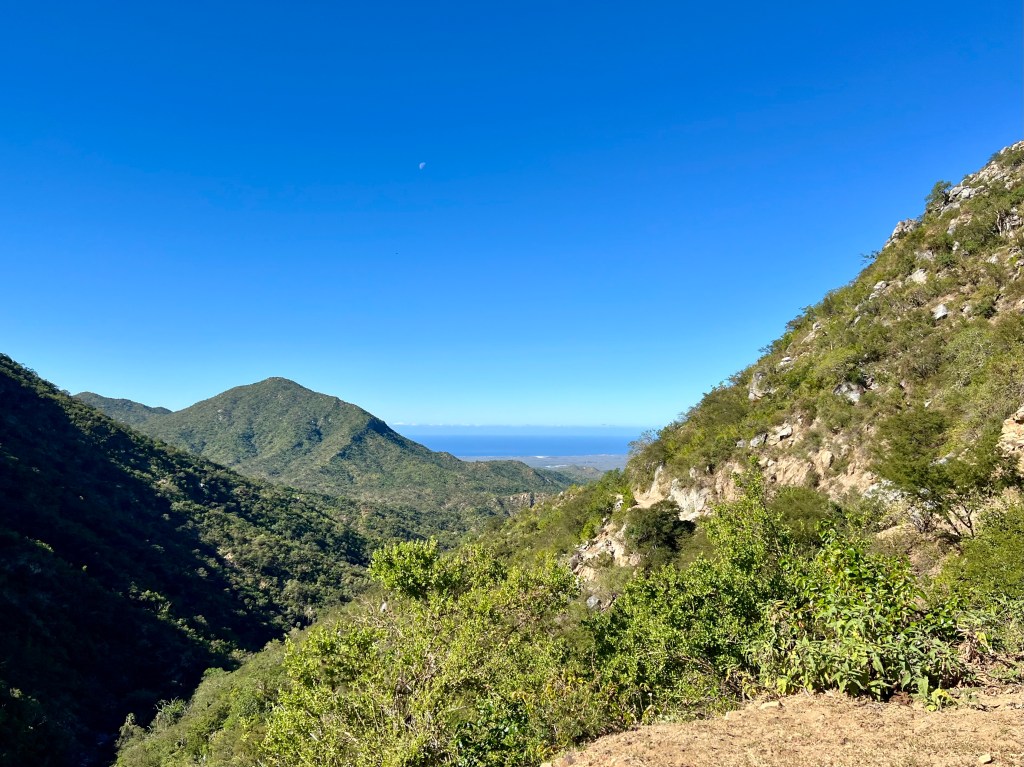
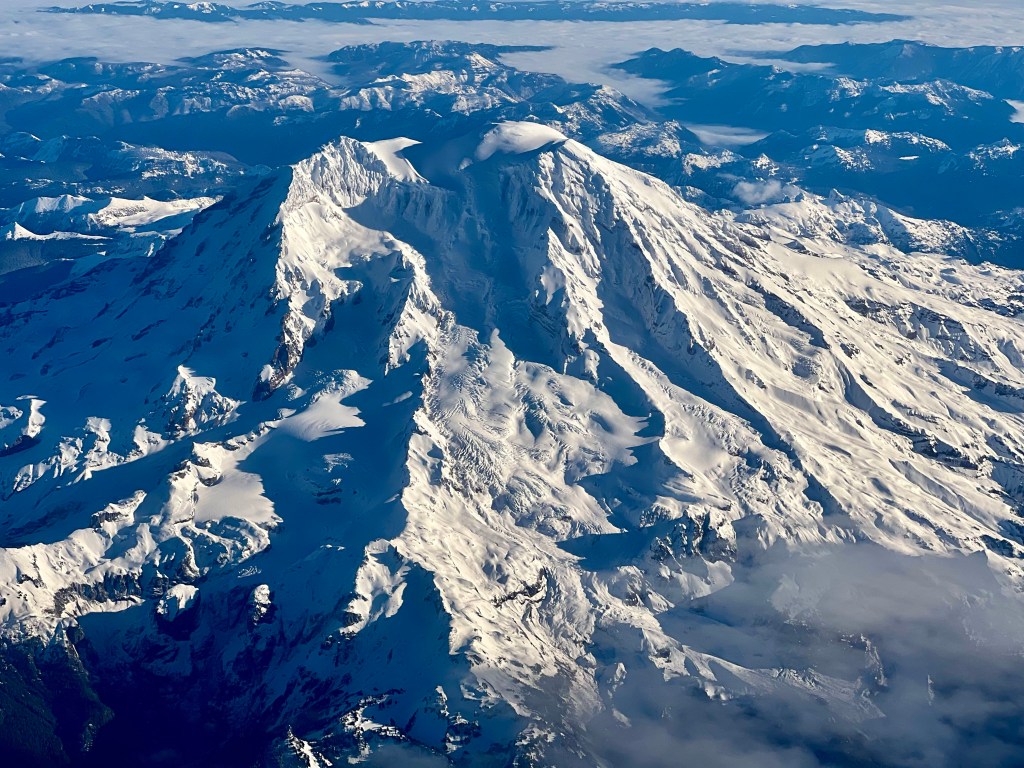
Eventually, I crested the pass, and was greeted with the sight of the Pacific Ocean in the distance, followed by a long downhill with many streams crossing the road. I continued riding to el Aguaje, a small ranching community where I refilled my water in the flowing stream, drank as much as I could stomach, and sat down under a broad tree to have lunch in the shade.
My first view down to the Pacific Ocean.
I made the decision to head toward the coast highway (MEX19) instead of following the route along mostly dirt roads all the way to Todos Santos. This was in an effort to avoid what I had read was a difficult, sandy section. Looking back, I should have continued further north on the backroads before heading west to the coast at el Pescadero or continued all the way until Todos Santos. Lesson learned.
The route to the coast road was nice, not too washboarded, and not too sandy except when it crossed a dry arroyo. Thankfully, I crossed the arroyo immediately before a large group of off-roaders came tearing through, creating a huge dust storm all around them. No wonder one ranch had signs in Spanish and English asking off-roaders to drive slowly.
My route took me west to Rancho Nuevo, and then north along the highway MEX19 toward el Pescadero. I don’t enjoy riding on the highway. It’s loud, dirty, and uncomfortable with traffic passing by at 60 MPH/100kph+.
I stopped at the first tienda I came to where I bought a Coke and something to snack on while sitting in the shade. With the derailleur still making noise, I hopped online and found a bike shop in el Pescadero that I could ride to before dusk. Hoping to get a quick repair before heading onward, I arrived to find out that there wasn’t a bike shop there at all.
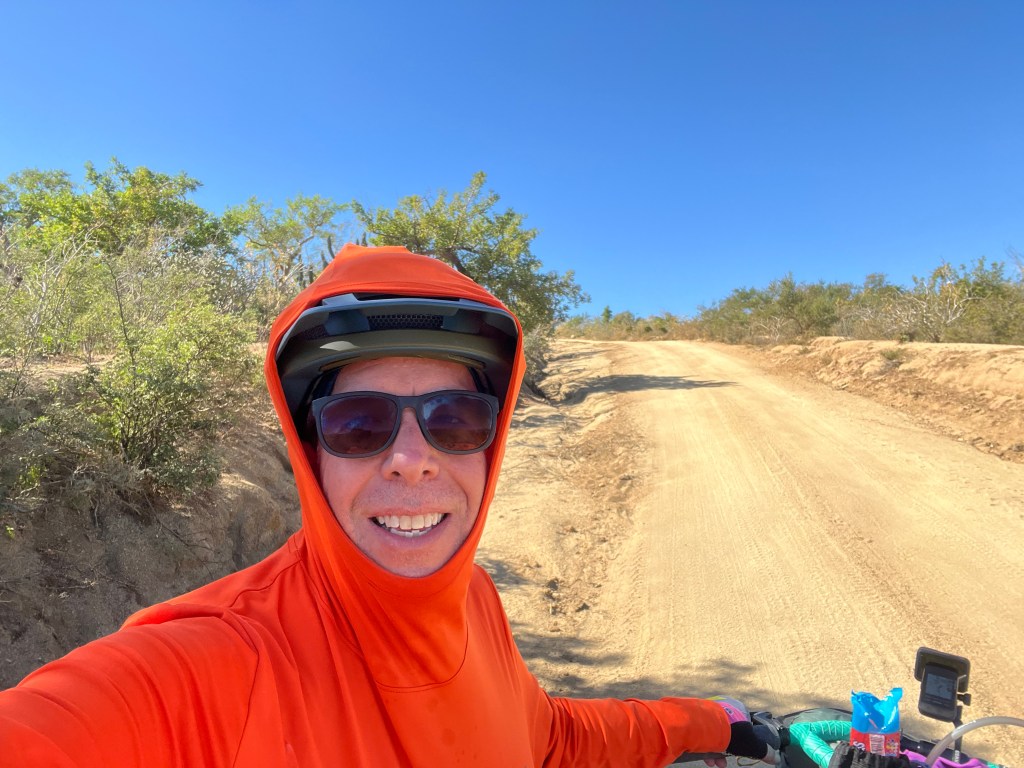
Climbing the hill just west of el Aguaje.
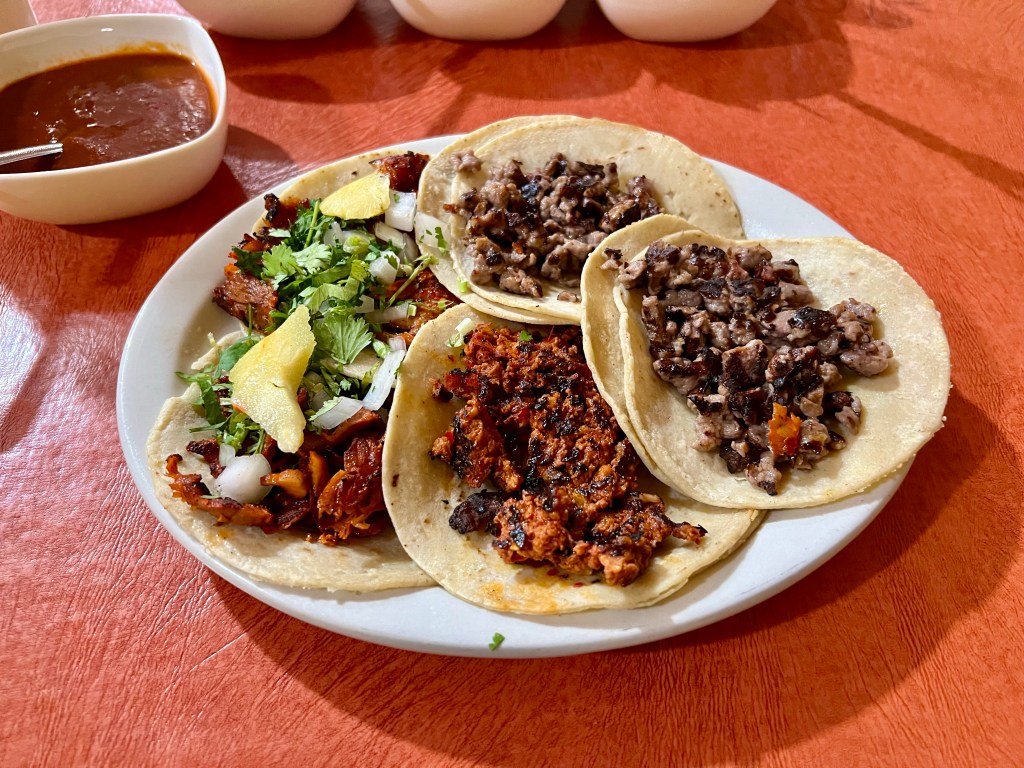
Dejected, I managed to find a ride the last few miles into Todos Santos. I checked into my AirBNB, had a well deserved shower, and went out for tacos.
Today was difficult. I couldn’t keep hydrated even though I had plenty of access to water. Worse, I wasn’t hungry. Not a bit. At dinner I ordered some tacos, an octopus tostada, and some guacamole. I couldn’t eat everything that I ordered, even though I had been pushing hard all day.
After food and rehydration, I cleaned up Hobbes, fixed up the derailleur (thanks for reminding me of the measurement I needed, internet!) and went to bed unsure of tomorrow’s plan.
After a quick breakfast at the hotel, I headed off to the mountains. But first, I had to navigate about 8 miles through the San José del Cabo suburbs and along Mexíco 1, the highway between San José del Cabo and La Paz, to the north. Thankfully, there’s a dirt road running parallel to the highway for much of the route, so I was able to minimize my time on the road itself. (Note: the official route has recently been reported to be closing/closed. I’m not sad that I missed multiple miles of deep, unrideable sand.)
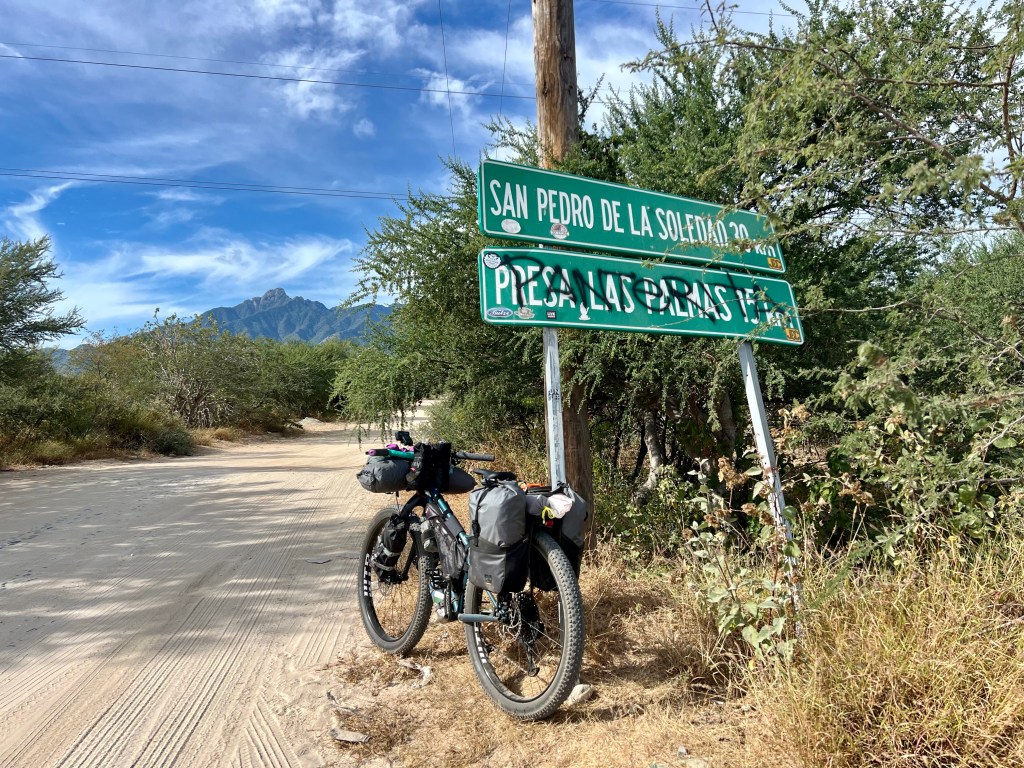
Adventure begins here, at the turn off from MEX1 on to the Camino Las Naranjas
From here, the route starts a steady uphill climb, crossing arroyos that cut through the mountainous landscape. The road has a fair bit of traffic, mostly ranchers (I assume), but I did see a few families out exploring and playing in the cool water of the arroyos.
I stopped at the first arroyo I came across for a quick break. I spoke to a local family out enjoying the day, they let me know that many of the arroyos have active streams now because of the late fall hurricane that hit this area. I headed off up the road, only to be passed by their car a few minutes later. We met again at the second arroyo. They stopped to play and make lunch, while I stopped to eat my cold soaked couscous before continuing onward.
The first arroyo.
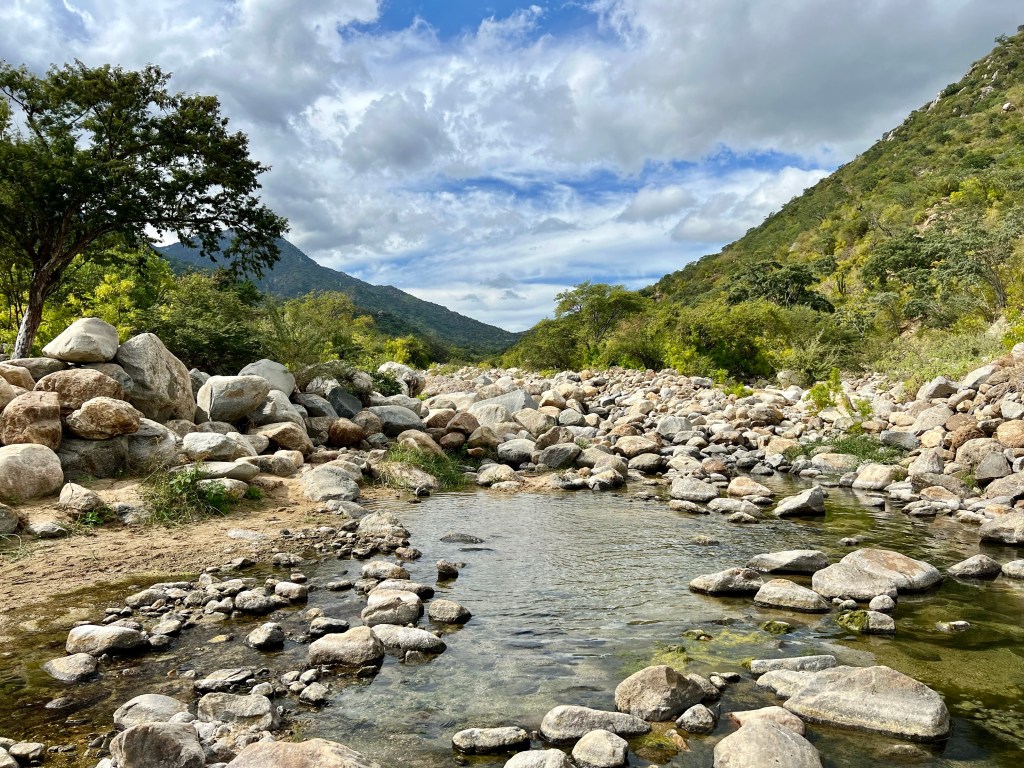
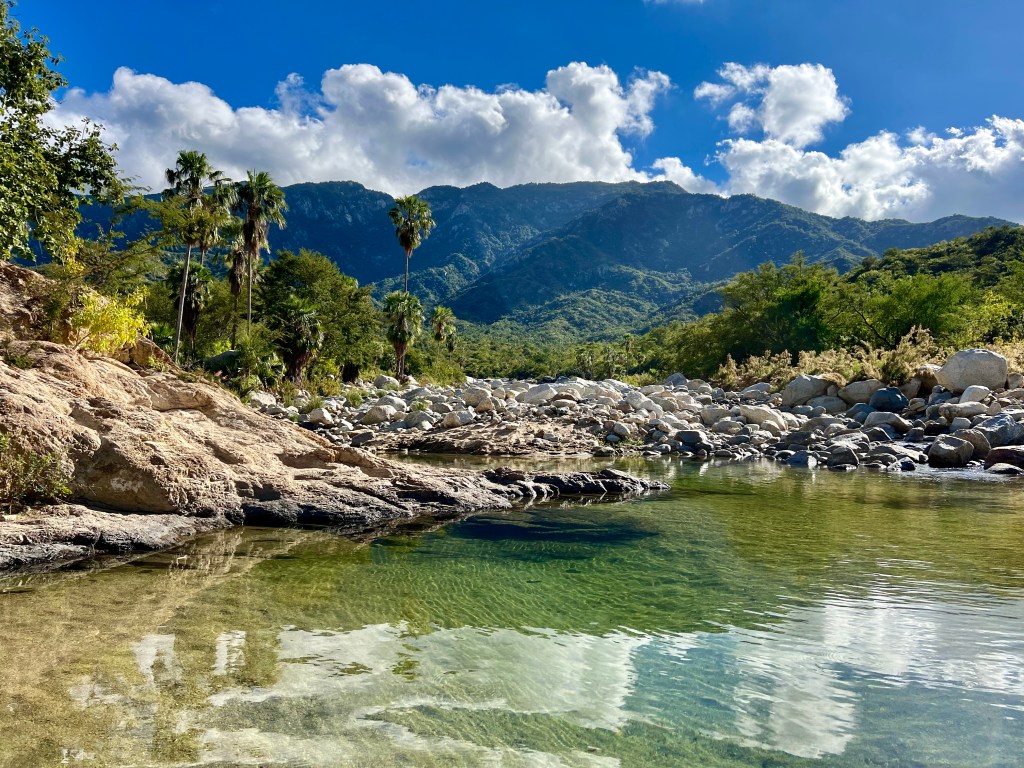
Continuing a steady climb into the Sierra de la Laguna I finally reached a downhill stretch where I came across the Buddhist retreat, Tsegyalgar West. This community owns a significant amount of land in the area, signs on both sides of the road notified visitors that the area is private property for miles. About a mile after the entrance to Tsegyalgar West, I came across a beautiful arroyo with a fast flowing stream. Sometimes called, “las pozas budistas,” or, “The Buddhist Pools,” I took the opportunity to cool off in the water and refill my water supply for the evening to come.
Las pozas budistas
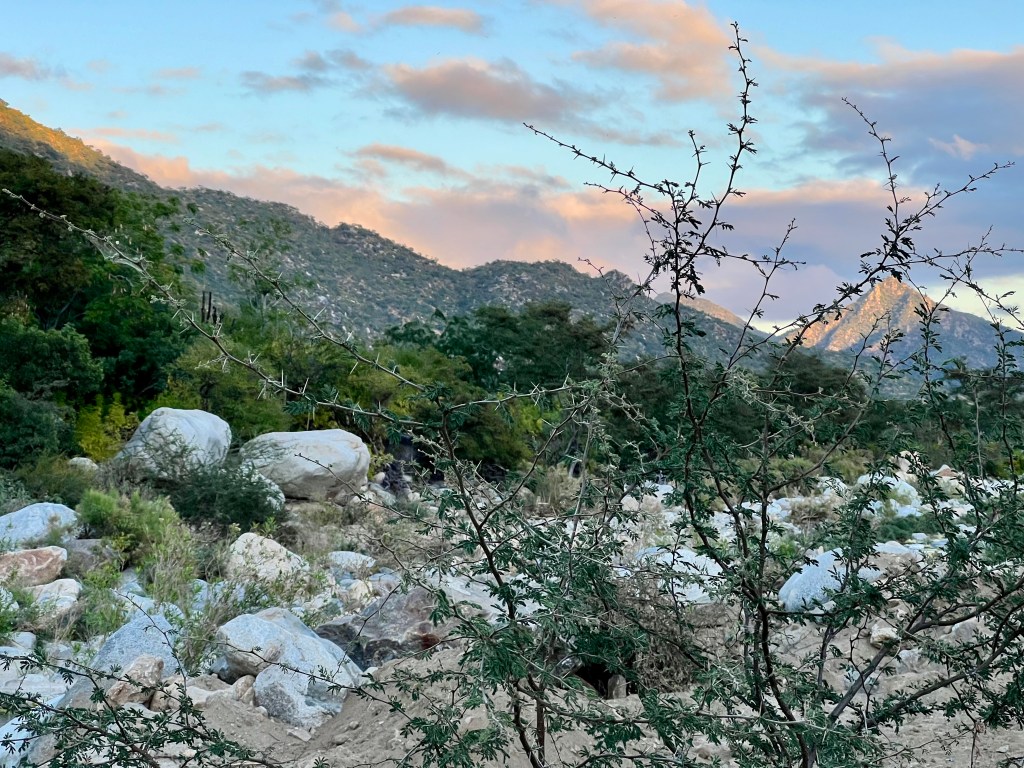
I continued on another mile or so before finding a great campsite next to another arroyo filled with flowing water. A steer laid down on the other side of the arroyo and watched me set up camp for the night. Once the sun set, about 5:45 PM, the clouds rolled in and darkness settled over everything. The heat of the day quickly faded and I went to bed before 8:30 PM.
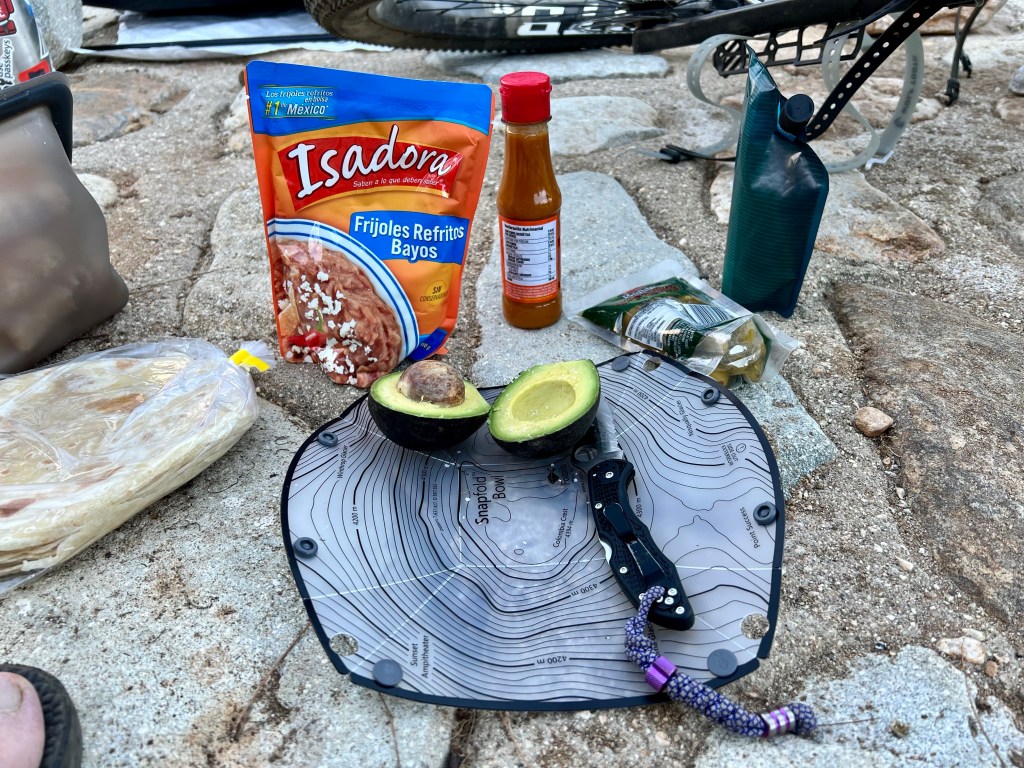
My campsite for the night.Dinner! Bagged beans, tortillas, an avocado, olives, and tequila.
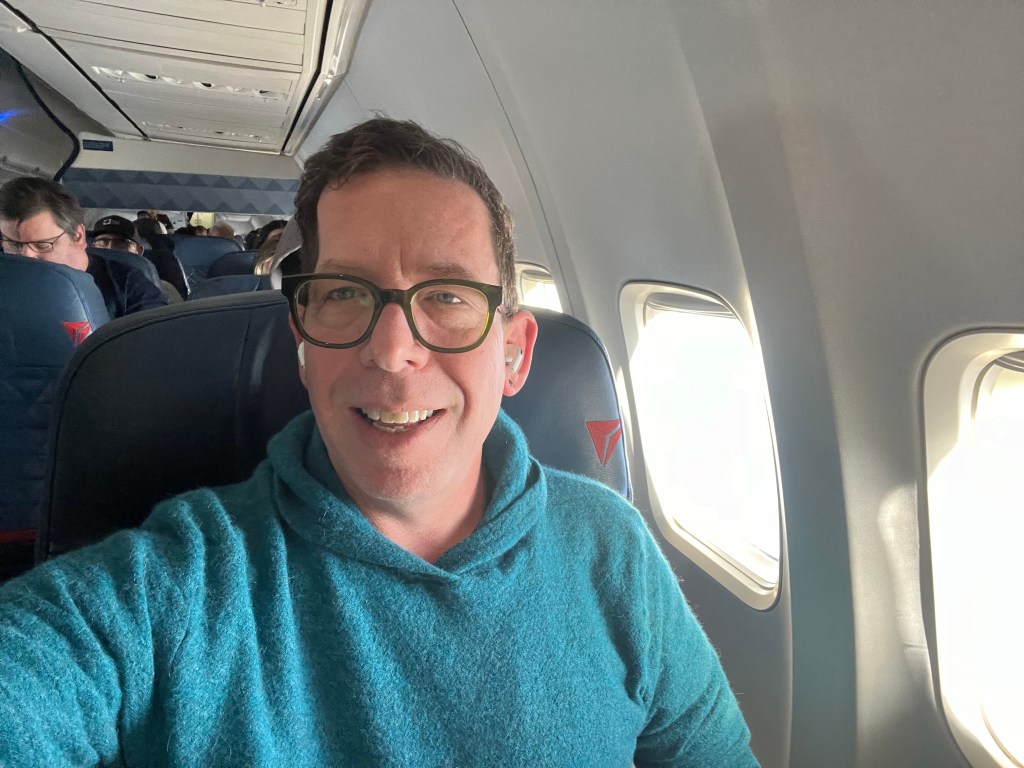
On January 1, I left on the morning flight to San José del Cabo. I was incredibly anxious about my bike – will it make it on the flight? Would it be damaged en route?
When I arrived in Mexico, I noticed the bag had been opened. The TSA had searched my bag. I’m fine with the bag being searched, but I’m displeased that they tried to remove my framebag, and broke a few pieces of padding between the franebag and frame, and left the bike unsecured in my bag. I have no idea what they were looking for – nothing was removed. Thankfully, nothing was damaged in transit.
I called the Cactus Inn Hotel where I was staying, they directed me to the area just outside the terminal where the rental car agency folks wait. They had a representative there for their car rental business (Cactus Rentals) who drove me a few miles to the hotel. I checked into my simple, bare bones room before heading off to buy groceries and get dinner.
Tacos at Taqueria el Fortachon.
Well fed, I headed back to the hotel to rebuild my bike, repack my bags, and head off the next morning. Tequila was involved, so building the bike took longer than expected. (More on this in two days…)
Off to bed early for my first day of riding in the morning!
(Nota bene: All posts for this trip are being back dated to the date that they occurred, even if I’m writing a few days later.)
64 oz Klean Kanteen (w/ 2 Voile straps for mounting below the downtube)
Hydrapak 3L bladder w/ drinking hose (sits in the framebag)
Aquamira Tabs
28 oz cycling bottle (for electrolytes)
Tools & Safety
20’ microcord & 4 Loop Alien line locks
Leatherman Pliers (thanks, John!)
Ottolock & lightweight cable lock
Whistle
2 oz Stan’s Sealant
Altoids tin tire kit – Patches, Boots, Schrader adapter, needles, thread, shoe goo, extra tubeless darts
Racer Dynaplug & extra preloaded plugs (rides in my framebag for accessibility)
Chain Lube
Chain rag
Crank Brothers M19
Extra Tube
Latex Gloves
Pressure Gauge
Pump
Tire Levers
Electronics
Garmin inReach Mini satellite communicator
120V AC dual USB-C charger
AirPods Pro
2x 10,000 mAH Anker battery packs
Fenix Front & Rear Lights
GoPro Hero 11, 4 batteries, charger, & GoPro Tool
NiteCore Headlamp
Kindle Paperwhite
Mini Tripod w/ iPhone and goPro mounts
Cables
USB-C – Lightning
USB-C – micro USB-B
USB-C to USB-C (2x)
USB-A to Apple Watch
Wahoo GPS
Fairy lights (I strung up a short strand in my tent for light. They run off my battery pack, consume minimal energy, and I can trim the strands to reduce the brightness if needed.)
Personal Care
Chamois Butt’r
Dr. Bronners soap
Ear plugs (noisy campsites suck)
Eyeglasses cloth & cleaner
First Aid Kit (ibuprofen, naproxen, immodium, bandaids, leukotape, etc.)
Gear repair tape
Glasses case w/ glasses (to store either sunglasses or prescription RX, whichever is not on my face)
Hand sanitizer
Shit kit w/ The Deuce trowel
Lotion bar
Prescription medications
Pack towel
Suncreen stick (2x)
Toothpaste tabs & travel toothbrusth
Wipe pucks (lightweight and compact, they rehydrate with a few drops of water for your face, body, or butt.)
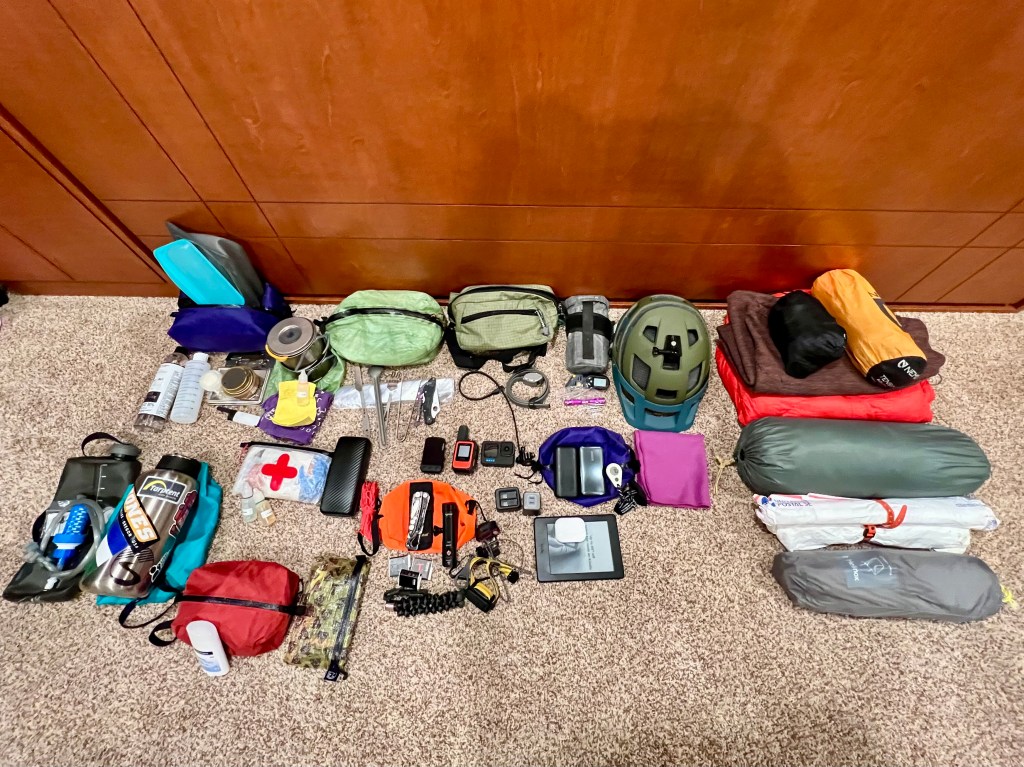
Everything that’s going with me, except clothes, the 3L Hydrapak, and the Lezyne pump. The light green bag (top, left of center) and purple bag (top left) are food, the red bag (bottom left) has personal care items.
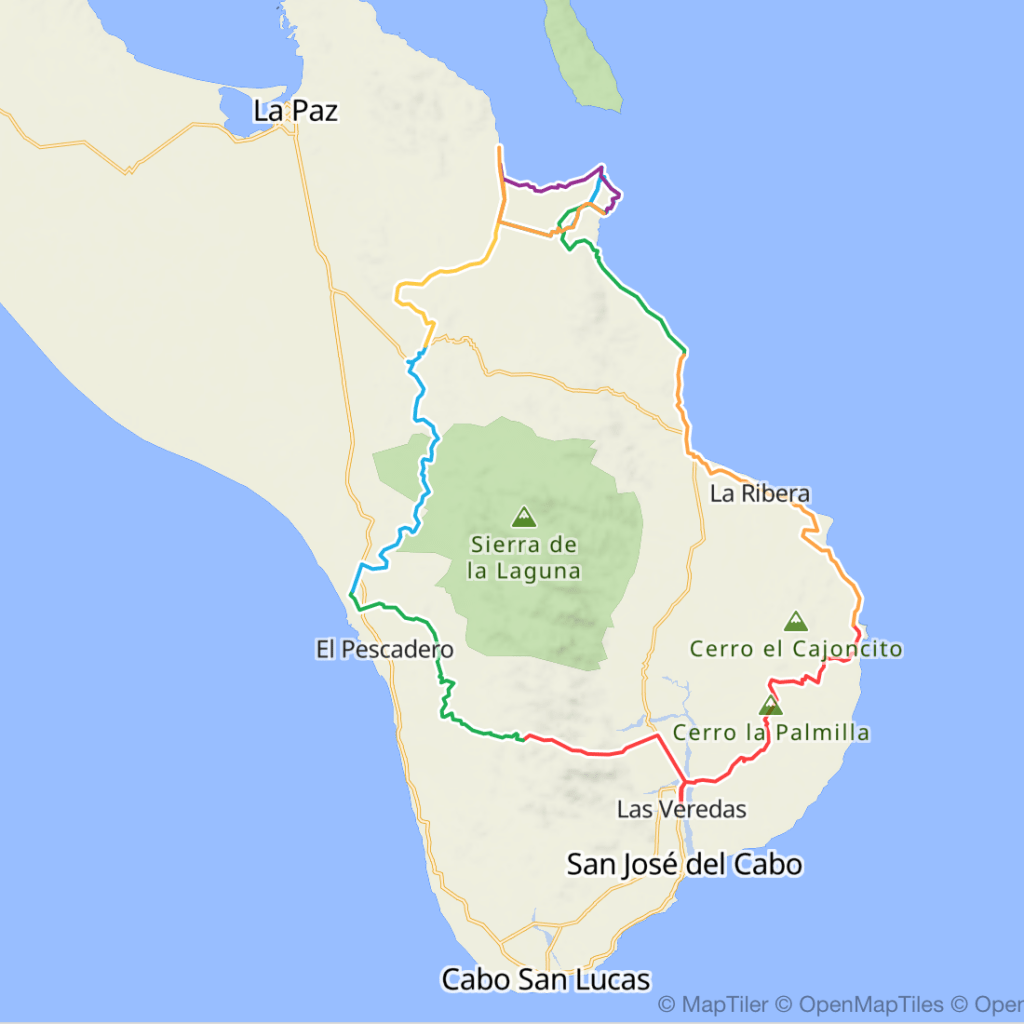
As I get closer to departing for Mexico, I’ve made a few route updates. The first update is to route around a planned closure on day 1 just north of the San José del Cabo airport. Recent reports say the route is unridable due to deep sand and it may be closed to traffic soon. I can’t say I’m sad about skipping unrideable sandy roads, but cycling alongside the Carretera Transpeninsular heading north from San José del Cabo isn’t all that appealing, either.
With some extra time on my hands – I’m planning an off-route detour after my rest day in La Ventana. Instead of taking the highway east toward Los Planes and the coast, I am planning to take the Cardon Corridor trails and work my way east along the coast at Playa Turquesa out to the lighthouse at Punta Arena de la Ventana before heading south along the coast road. I’ll end the day at Enseneda de Muertos, hopefully with a beer and dinner at the one restaurant located along this section of beach, Restaurant 1535.
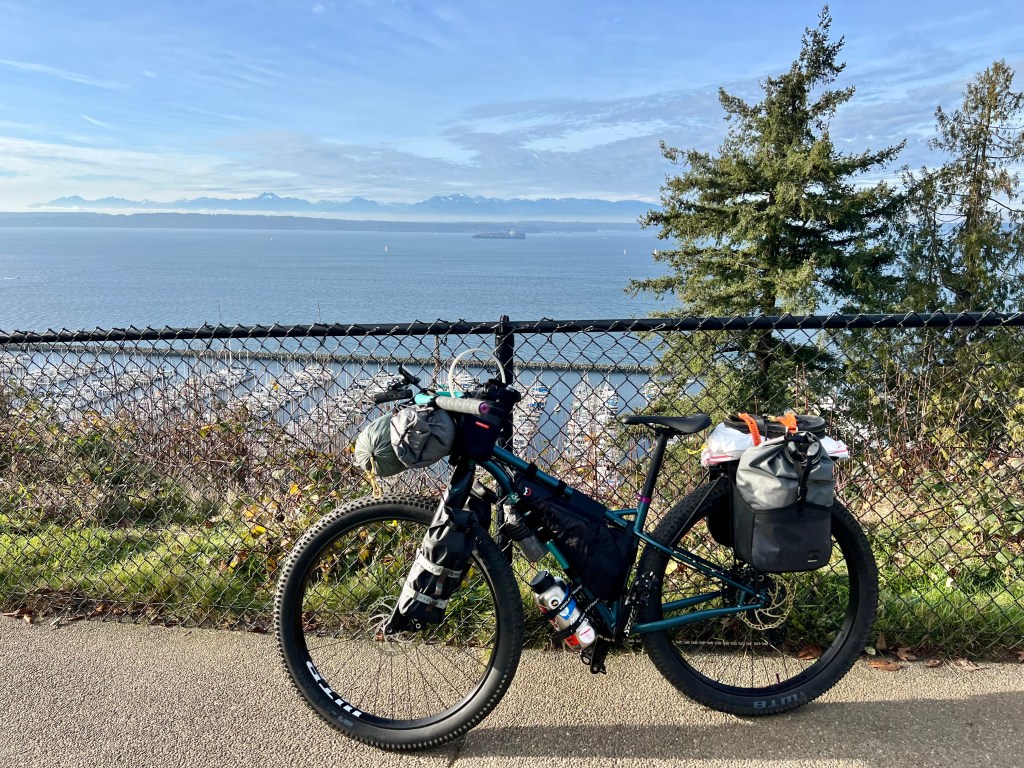
I’ve packed and unpacked my bike twice now – I’m feeling confident that I have the tools, padding, etc. that I need to pack safely for the trip to and from BCS. Over the weekend, I put the bike together again, mounted all of my bags, water storage, etc. and headed out for a ride through the neighborhood to see how my bike handles fully loaded. As expected, my Bombtrack Beyond+ ADV is a great platform for riding weighed down with racks, bags, food, water, clothes, and camping gear. Unloaded, the bike weighs ~30#. Fully laden with 5L of water, I estimate the loaded bike is ~70#. (Update: 74 pounds / 33.5 kg on my travel scale… yowza.) That’s a lot of weight to move uphill! My granny gear (30×52, 0.58 gear ratio) is going to get a workout on steep climbs.
Over the next two weeks, I’ll be doing a lot of fully loaded hill climbing around my neighborhood. Although North Seattle doesn’t have any long climbs, there are plenty of short, steep climbs, and a few longer sustained climbs such as Golden Gardens Drive, . A few can be strung together for a ride that has very little flat terrain. Too bad the weather in Seattle is likely to be cold and rainy until I depart. The only thing I can’t prepare for is the heat and sun in Baja California Sur.
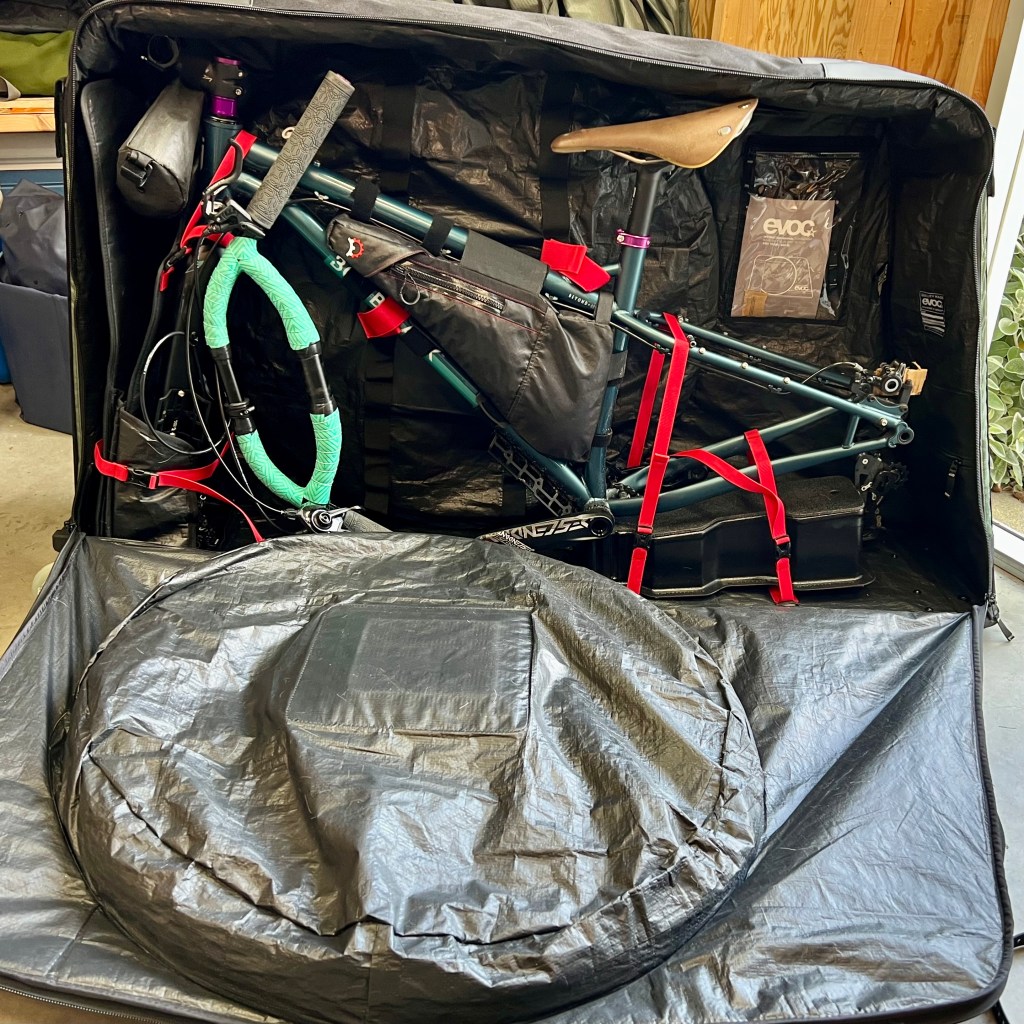
Last weekend I took some time to try packing my bike in it’s new travel bag, an Evoc Bike Travel Bag XL. Packing my bike taught me a few things. First, use only the tools you plan on bringing with you. If you cannot pack and unpack with those tools, you need more tools. My Crankbrothers M19 tool is sufficient to pack and unpack, it rides in my toolkit on every ride. A set of Wera L keys, Wera bicycle set, and a 15mm wrench are MUCH easier to use and faster, too. The Park Tool ATD1.2 torque wrench is a nice to have. Latex gloves to keep from getting dirty are always a good idea.
Second, the order of operations is important: Pedals come off first, then wheels. Thru axles are replaced front and rear to protect the fork and frame. Spacers are placed in the hydraulic brake calipers. Handlebars are removed last and strapped to the frame. Rear derailleur is removed (optional, but desirable). Finally, the seat post is lowered. At home I can do this in a repair stand which makes it convenient. On the road I’ll be working on the floor.
Placing the bike in the bag has a specific order, as well. The rear wheel is placed in the bag (on the side opposite the bike) first. Pedals are placed in an interior pocket along with tools. Next the bike frame gets mounted and strapped in place inside the bag. Any other gear is loaded into the bag and the side is zipped up, allowing the front wheel to be stored. As long as it’s under 70 pounds with everything is secured inside, it’s ready to fly.
There are a few items I still need to work out. I didn’t expect to have to remove the rear rack given the small size of my frame, but it did not fit as mounted. Next time, I’m going to try to tip the rack forward so that it stays mounted on the frame and only needs to be rotated back into place and secured. I’m still debating whether to remove the disc rotors before travel. They appear well protected in the bag, but a bent rotor could end a trip if I can’t fix it or find a replacement.
What goes up, and up, and up, must come down… I spent about 2 hours climbing to the top of the ridge and about 10 minutes descending the other side all the way to my car. Forest roads, single track, banked turns, and steep drop offs – this was exactly what I needed after a hard climb.
I apologize in advance for the NSFW language toward the end of the video. I smashed the fork into a rock, chipping the paint beneath the thru axle as I tried to navigate between a gate and some rocks. This is simply the first of many stories that will be told by the wear and tear on my bike. ¯\_(ツ)_/¯


You must be logged in to post a comment.