Last weekend I took some time to try packing my bike in it’s new travel bag, an Evoc Bike Travel Bag XL. Packing my bike taught me a few things. First, use only the tools you plan on bringing with you. If you cannot pack and unpack with those tools, you need more tools. My Crankbrothers M19 tool is sufficient to pack and unpack, it rides in my toolkit on every ride. A set of Wera L keys, Wera bicycle set, and a 15mm wrench are MUCH easier to use and faster, too. The Park Tool ATD1.2 torque wrench is a nice to have. Latex gloves to keep from getting dirty are always a good idea.
Second, the order of operations is important: Pedals come off first, then wheels. Thru axles are replaced front and rear to protect the fork and frame. Spacers are placed in the hydraulic brake calipers. Handlebars are removed last and strapped to the frame. Rear derailleur is removed (optional, but desirable). Finally, the seat post is lowered. At home I can do this in a repair stand which makes it convenient. On the road I’ll be working on the floor.
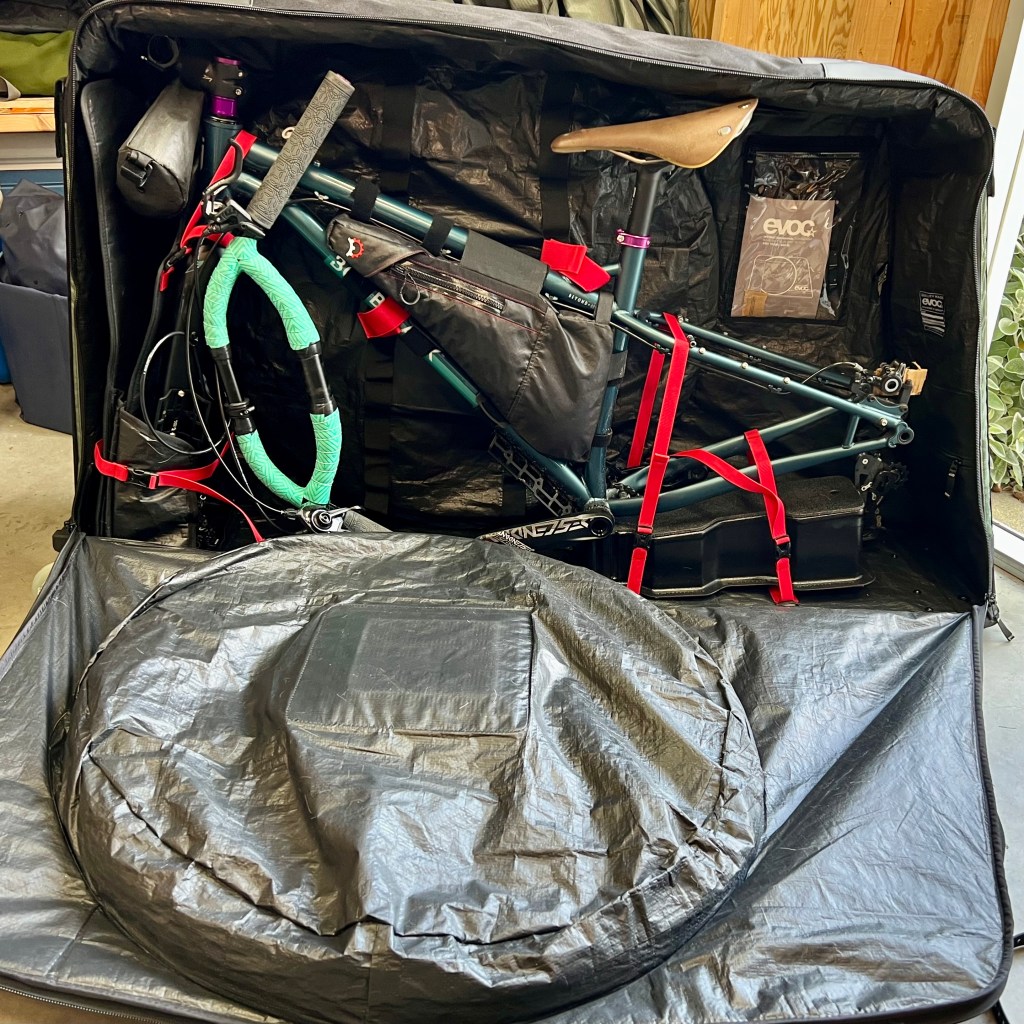
Placing the bike in the bag has a specific order, as well. The rear wheel is placed in the bag (on the side opposite the bike) first. Pedals are placed in an interior pocket along with tools. Next the bike frame gets mounted and strapped in place inside the bag. Any other gear is loaded into the bag and the side is zipped up, allowing the front wheel to be stored. As long as it’s under 70 pounds with everything is secured inside, it’s ready to fly.
There are a few items I still need to work out. I didn’t expect to have to remove the rear rack given the small size of my frame, but it did not fit as mounted. Next time, I’m going to try to tip the rack forward so that it stays mounted on the frame and only needs to be rotated back into place and secured. I’m still debating whether to remove the disc rotors before travel. They appear well protected in the bag, but a bent rotor could end a trip if I can’t fix it or find a replacement.

You must be logged in to post a comment.